Cheap and cheerful ebay shots with a lightbox
I mentioned using a lightbox I'd bought at maplin in my last post lighting a wristwatch.
This time I want to look at something a little less arty, and a bit less complicated. Suppose you just want a decent quality shot of some stuff you're selling online, such as on ebay, and you feel a cheap lightbox such as the maplin one is worth buying, it can be pretty simple to get some decent images with little money spent.
Normally for my product shots, I use one, two, three or even four off-camera flashes and various diffusers (either on the lightbox or others), light modifiers, reflectors and gobos to get the effect I'm after. Flashes can be pretty expensive, with even an old but decent one with manual controls being £30-50. My latest Canon 580EX was £260, so they aren't cheap.
So I'm going to make a few assumptions here. Firstly that you have a digital camera of some sort (or a film camera and scanner), and that you can set the white balance on it. Secondly that you have some method of supporting the camera for slow shutter speeds, to make sure your images are sharp. If you have a small P&S, this can be one of the little table mounted tripods, although if you have a dslr, you will need something a little more substantial depending on the weight of the camera and lens.
I'm also going to assume you've gone out and bought a small lightbox, and either own or have bought a couple of small desklamps. These lamps have the advantage of being able to flex into almost any position, and are very very cheap. Around £5-10 in Asda, and possibly cheaper elsewhere.
I didn't have much time to put this together, so I took advantage of a high ISO speed and wide aperture to allow me to hand hold the camera. This has given a touch of noise and the shallow depth of field shows, but otherwise the images show the effect of the lighting. At ISO 100 and f/8 (something I'd opt for on a dslr normally using flash), I'd need a shutter speed of around a second using these desklamps, so you can see that a tripod is very important if you want to use a low ISO speed and have sufficient depth of field for your product.
So here's the first shot from my setup. 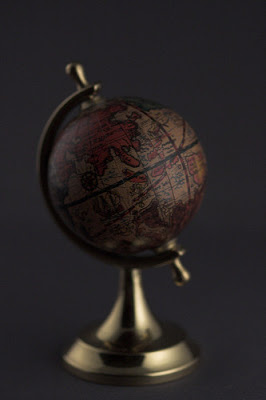
Nothing particularly special. Here's how it was done.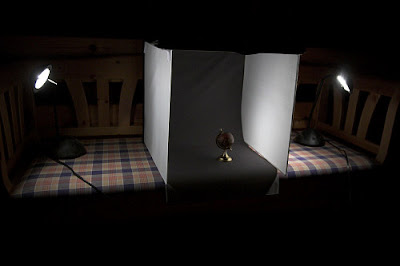
Switching off the left light, you can see the right light provides not only light on the right hand side, but some reflected light from the other side of the lightbox. This is mainly only visible in the shiny base of the globe.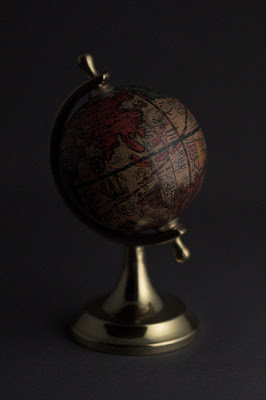
You can see the same with the left light.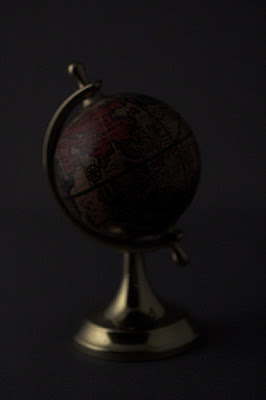
Switching off the left light and putting on the right hand light again, you can move the light closer to the diffuser (be careful leaving this too long in case the lamp gets hot - I don't accept responsibility for house fires!) to give a slightly brighter (since the light is closer) and more contrasty (since only part of the diffuser is now lit) light.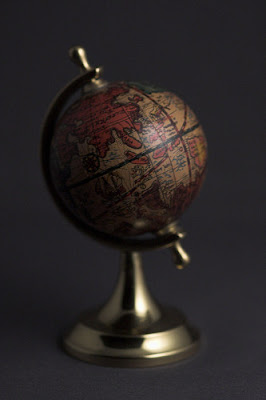
Pulling the right hand light back, switching on the left light and moving the left light in closer and further back, I create quite a pleasing little highlight on the globe.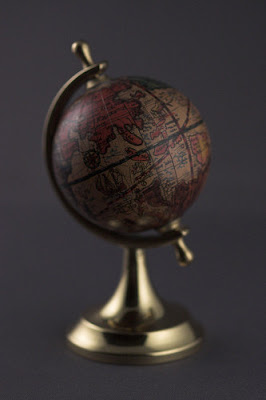
You can see in this shot how the left light creates a very defined area of light on the diffuser, while the right hand diffuser is fairly evenly lit. 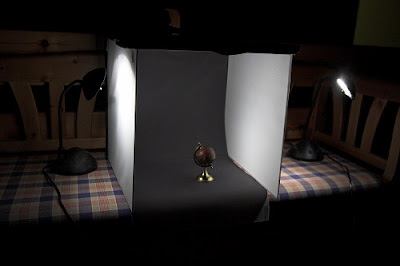
Ignoring the difference in distance/brightness of the light, this gives you control of the reflections on shiny items. On non-shiny items, you don't really need to worry about the object highlights...only the shadows on the background.
You can see in the following shot, where I did without the diffuser, not only do I get a very harsh set of highlights on the globe, I get a shadow on the background. That said, it does give a nice contrasty shot, and shows the details on the globe. In certain cases, contrasty light can serve you well, such as in bringing out detail, texture and colour in food on plates.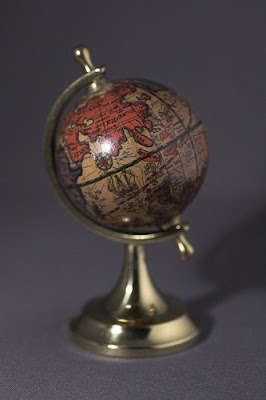
Here's how that shot was done. You can see I just bent the light round the front of the lightbox, while using the right light to fill in the shadows from the left light.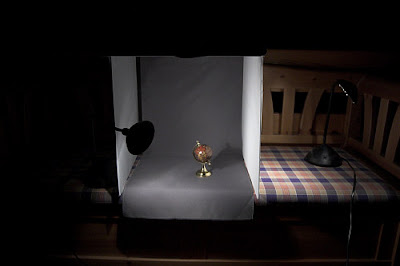
The benefit of this is pretty clear. £20 for the lightbox, £1 for each different colour of background (A2 paper) you want other than the grey/blue background provided, and around £10 for two lamps isn't much to pay for some pretty decent shots of products with little effort.
So what are the downsides? Firstly, you can't control highlights and brightness simultaneously. If I want a contrasty light on the left and a soft diffused light on the right, the right hand light must be further away from the product, and will therefore be darker. If I want the same brightness level, I'm pretty stuck. I either try to darken the left lamp by some method such as Neutral Density filter sheet, or I use more than one lamp on the right to increase the brightness (and the expense on lamps). With flash, you simply move it further away, and set the brightness up a touch.
The second problem is that you need a dark room, which isn't always that practical. If I'd shot this during the day in this particular room (which has no blinds), I'd have had a confusing mixture of white balance between cold daylight and warm tungsten. In some locations, you can't even switch the lights off, such as in some large offices, and often using fluorescent lighting, you'll get a horrible colour cast on your images. Given the long exposure for these lights, you really need very little light coming from elsewhere. With flash, even pretty small bursts will overpower the light in most rooms at the distances we're talking about, so ambient lighting isn't really an issue in your shots.
Everything I've demonstrated can of course be used right off with a couple of flashes and some method of holding them in position such as a lighting stand.
The object of this post is to keep it as simple and cheap as possible, but if you want to go further, either with desk lamps or flashes, try thinking about how you can use added diffusion, reflectors and gobos to control the light further, and create some interesting effects. If you're using desk lamps though, please remember they get hot!


No comments:
Post a Comment